DA/Direct-Assignment of IPs to a Linux-Machine (GRE,GRETAP & VXLAN ONLY!)
Info
If you want to assign the IPs from a Novacloud tunnel to your Linux machine for direct use, then this is the right manual for you. This Instruction is not for Netbird!
Requirements
- basic understanding when reading this documentation
- An active, functioning IP transit tunnel from NovaCloud-Hosting
Be aware that your actions during setup can lead to your system(s) losing Internet access if something goes wrong.
Receive tunnel information
In order to successfully set up a tunnel in accordance with our documentation, it is essential to take a brief look at how to obtain all the necessary tunnel information.
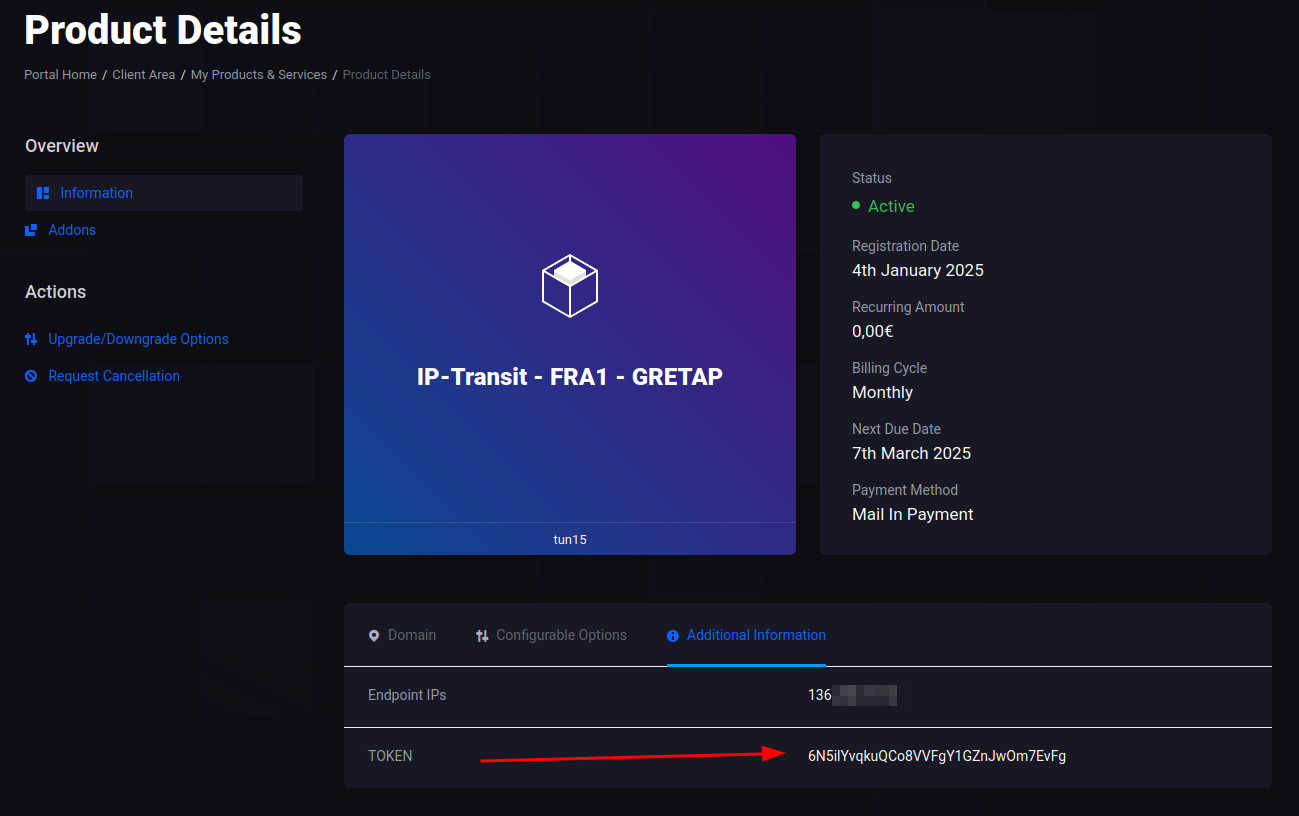
First, open the tunnel product in the client area and copy the “TOKEN” found under “Additional Information”.
As of 08.05.2026 there is rework after migration on this System. New customers will no longer receive information via IPAPI, but will instead be contacted via email or support ticket. We apologize for any inconvenience until the system upgrade is complete and IPAPI has been replaced. If you need more information, please contact support.

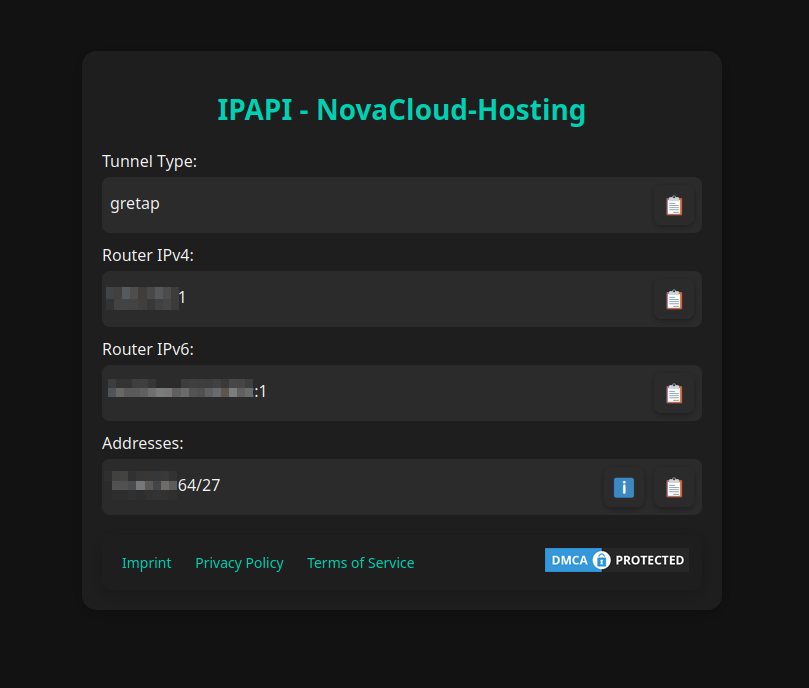
Open the page https://ipapi.novacloud-hosting.com in a non Internet Explorer 11 browser and enter the token. You will then receive all the necessary information at a glance.

Please avoid sharing this token even if it does not contain extremely sensitive information.
Tunnel configuration/set-up
We assume that you are using a Linux-based operating system with SSH access, the config can also be adapted to other systems under certain circumstances.
Install Dependencys
First of all, it is necessary that you do perform a Wireguard installation on the machine you want to connect if you want to connect via Wireguard protocol.
In addition, dependencies are required for all tunnel types. You can install them with e.g. apt install --yes grep sed bash wget dos2unix
Configuration creation
Now create the configuration file under /opt/novacloud-ipt-da.env. For that you now open any editor you want to use for it to create the file.
Insert the applicable configuration template from below (in some instructions there is only one) into the configuration file.
Once you have done this, you must adjust a few things. Variables are displayed with their name in <>, you can get the corresponding information via our IPAPI. These must be replaced with the correct content in full, including <>.
Once again: you search for variables which can be recognized because they are written in <> and replace them with the data from the IPAPI. Always pay attention to comments, which can usually be recognized graphically and by # characters, these indicate if something needs special handling. You need to understand comments so that the configuration is successful. Variables in commented out sections do not have to be replaced/inserted, as commented out sections have no function/are not taken into account.
Explanation table Variables
In addition, you find a table here which describes what some and not all of these variables do/what they are for. This will help to understand some variables better and to replace them with the right data.
| Name | Description |
|---|---|
<Local Endpoint> | An endpoint IP stored in our system (usually that of your server), which you specified when ordering. This is listed in the IPAPI under “Allowed Endpoints”. |
<Useable Address> | Here you should enter a usable IP address that is assigned to your tunnel and that you want to use. You can find usable IP addresses under the IP resources in the information-button-menu about your subnets. |
<CIDR Notation> | Enter the CIDR notation of the subnet here. You can find this under the IP resources in the information-button-menu. |
<Our Router IPv4 OR Our Router IPv6> | For this hybrid variable with either IPv4 or IPv6, please note that only one of the two options should be entered, according to your preference. |
If you are at a point where you would rather have us set it up for you because it is too complicated or you have no knowledge, open a ticket and write to us. However, this is a chargeable and not a free service.
Configuration Template:
#!/bin/bash
# --- General ---
ADDRESSES=( # One line per IP to be assigned by the tunnel. Format: "<Usable Address>/<CIDR>"
    "<Usable Address>/<CIDR>"
)
#GATEWAY_IPV4="<Gateway>" # If you have at least one IPv4 in ADDRESSES section you need to define one of the IPv4 gateways here.
#GATEWAY_IPV6="<Gateway>" # If you have at least one IPv6 in ADDRESSES section you need to define one of the IPv6 gateways here.
AS_DEFAULT_ROUTE="yes" # If you want this tunnel to be the Default Internet/Default route of this machine for the Configured Address Types. Hint: Necessary for Docker environments, such as Pterodactyl Wings and generally recommended.
TUNNEL_TYPE="" # Select between gre,gretap,vxlan
ROUTE_TABLE="600" # Routing table which is used internally can be left as it is in the vast majority of cases.
ENDPOINT_REMOTE="<Our Router IPv4 OR Our Router IPv6>" # Novacloud-Routers IPv4 or IPv6
# --- GRE, GRETAP & VXLAN Options --- only if TUNNEL_TYPE=gre, gretap or vxlan
#ENDPOINT_LOCAL="<Local Endpoint>" # Your Endpoint-IP
# --- GRE & GRETAP Options --- only if TUNNEL_TYPE=gre or gretap
#GRE_KEY="<key of the Endpoint>" # Advanced: Only use if explicitly configured.
# --- VXLAN Options --- only if TUNNEL_TYPE=vxlan
#VXLAN_VNI="<vxlan_vni of the Endpoint>"
#VXLAN_PORT="<port of the Endpoint>"
If you think that the configuration file has been completed/entered correctly, save it.
Now download the latest script for processing:
wget -O /opt/novacloud-ipt-da.sh https://raw.githubusercontent.com/Novacloud-Hosting/iptransit-collection/refs/heads/main/novacloud-ipt-da.sh
chmod +x /opt/novacloud-ipt-da.sh
To raise the tunnel, execute bash /opt/novacloud-ipt-da.sh /opt/novacloud-ipt-da.env up
Configuration changes
Before you change anything in the novacloud-ipt-da.env you should shut down the tunnel with bash /opt/novacloud-ipt-da.sh /opt/novacloud-ipt-da.env down, then adjust the .env and start up the tunnel again with bash /opt/novacloud-ipt-da.sh /opt/novacloud-ipt-da.env up.
Test/check connection
If you have assigned an IP to the server directly via the tunnel and are using the default route function, you should check whether your server is now communicating with the IP from the tunnel by default.
For IPv4 e.g: curl --ipv4 ip.sb
For IPv6 e.g: curl --ipv6 ip.sb
If you do not use the default route but have nevertheless assigned an IP to the server, simply test the accessibility of the IP from outside by pinging it, for example. You can also use third-party sites such as https://check-host.net/.
Tunnel Autostart
You can set up a cronjob that automatically executes the script after a restart. To do this, you must have installed cron, e.g. with apt install --yes cron. You can then create the cron file as follows:
cat << EOF > /etc/cron.d/novacloud-ipt-da
PATH=/usr/local/sbin:/usr/local/bin:/sbin:/bin:/usr/sbin:/usr/bin
@reboot root sleep 30 && bash /opt/novacloud-ipt-da.sh /opt/novacloud-ipt-da.env up
EOF