Log in to the Control Panel
Before you can manage your Minecraft server, you first have to log in to our Control Panel. In this guide I'll show you how to set up and manage your Minecraft server.
1. Log in to the Control Panel
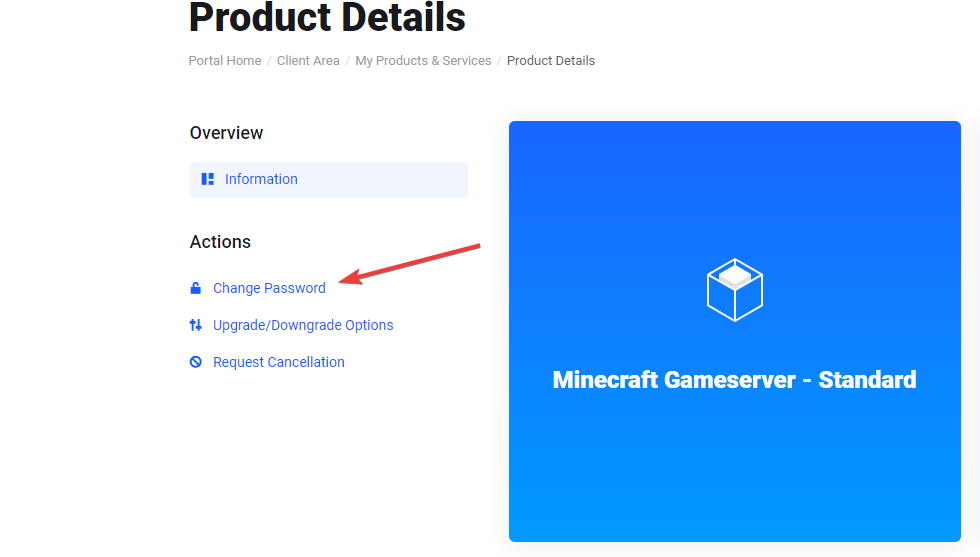
To log in to the Control Panel, simply click on your Minecraft server product and then on "Log in to the Control Panel".

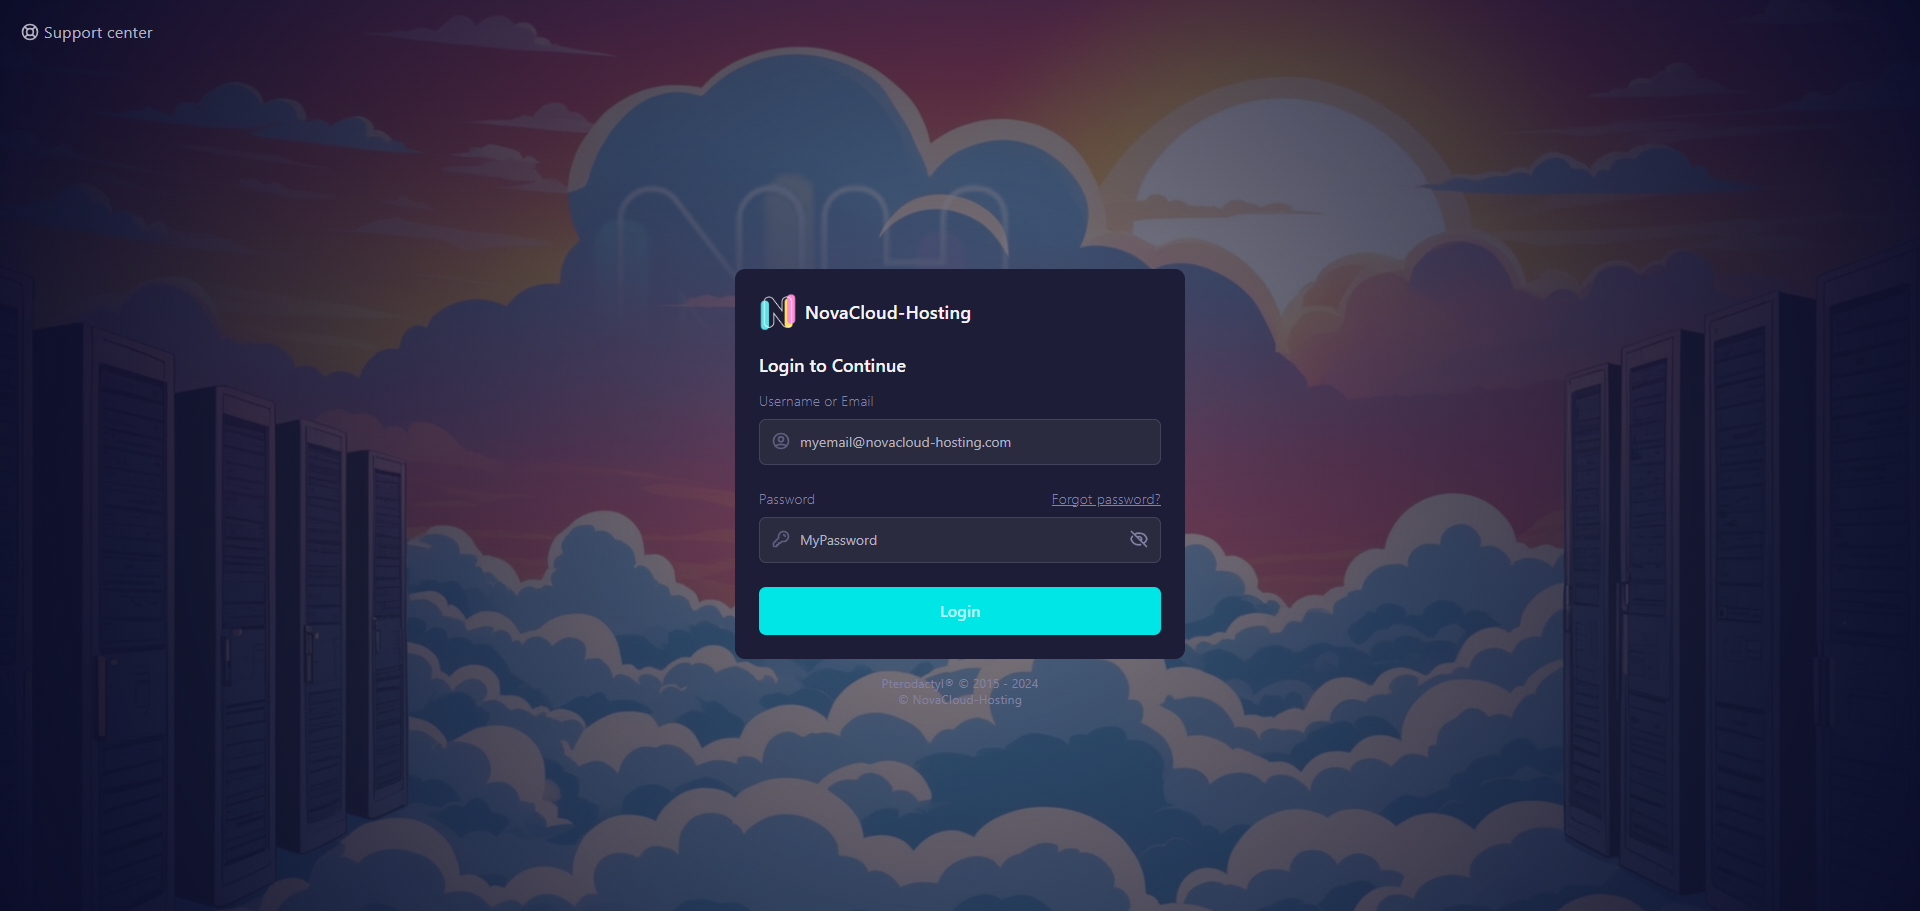
To log in, just use your email address. If you are logging in to the Control Panel for the first time, you still have to change your password. To do so, go back to the customer dashboard and click "Change password" in the left bar to set a password for your Control Panel account. Then go back to the Control Panel and use your new password.
2. Start the Minecraft server for the first time
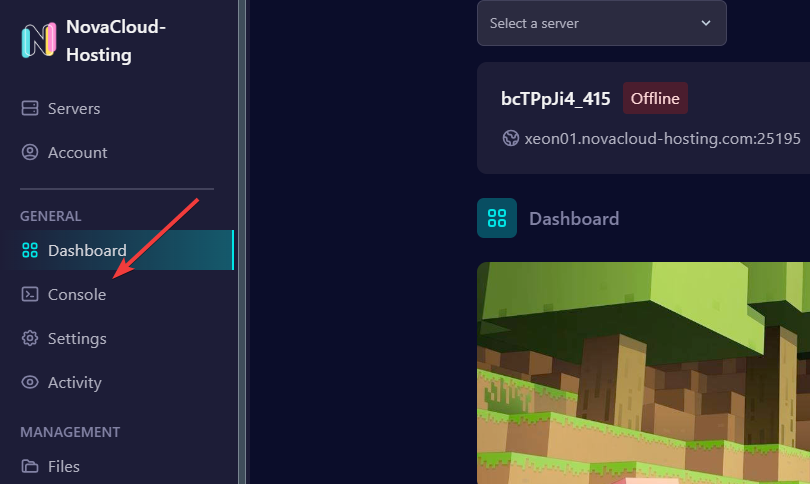
Now you can see your Minecraft server in the Control Panel. You can manage it, start it, upload files and much more.
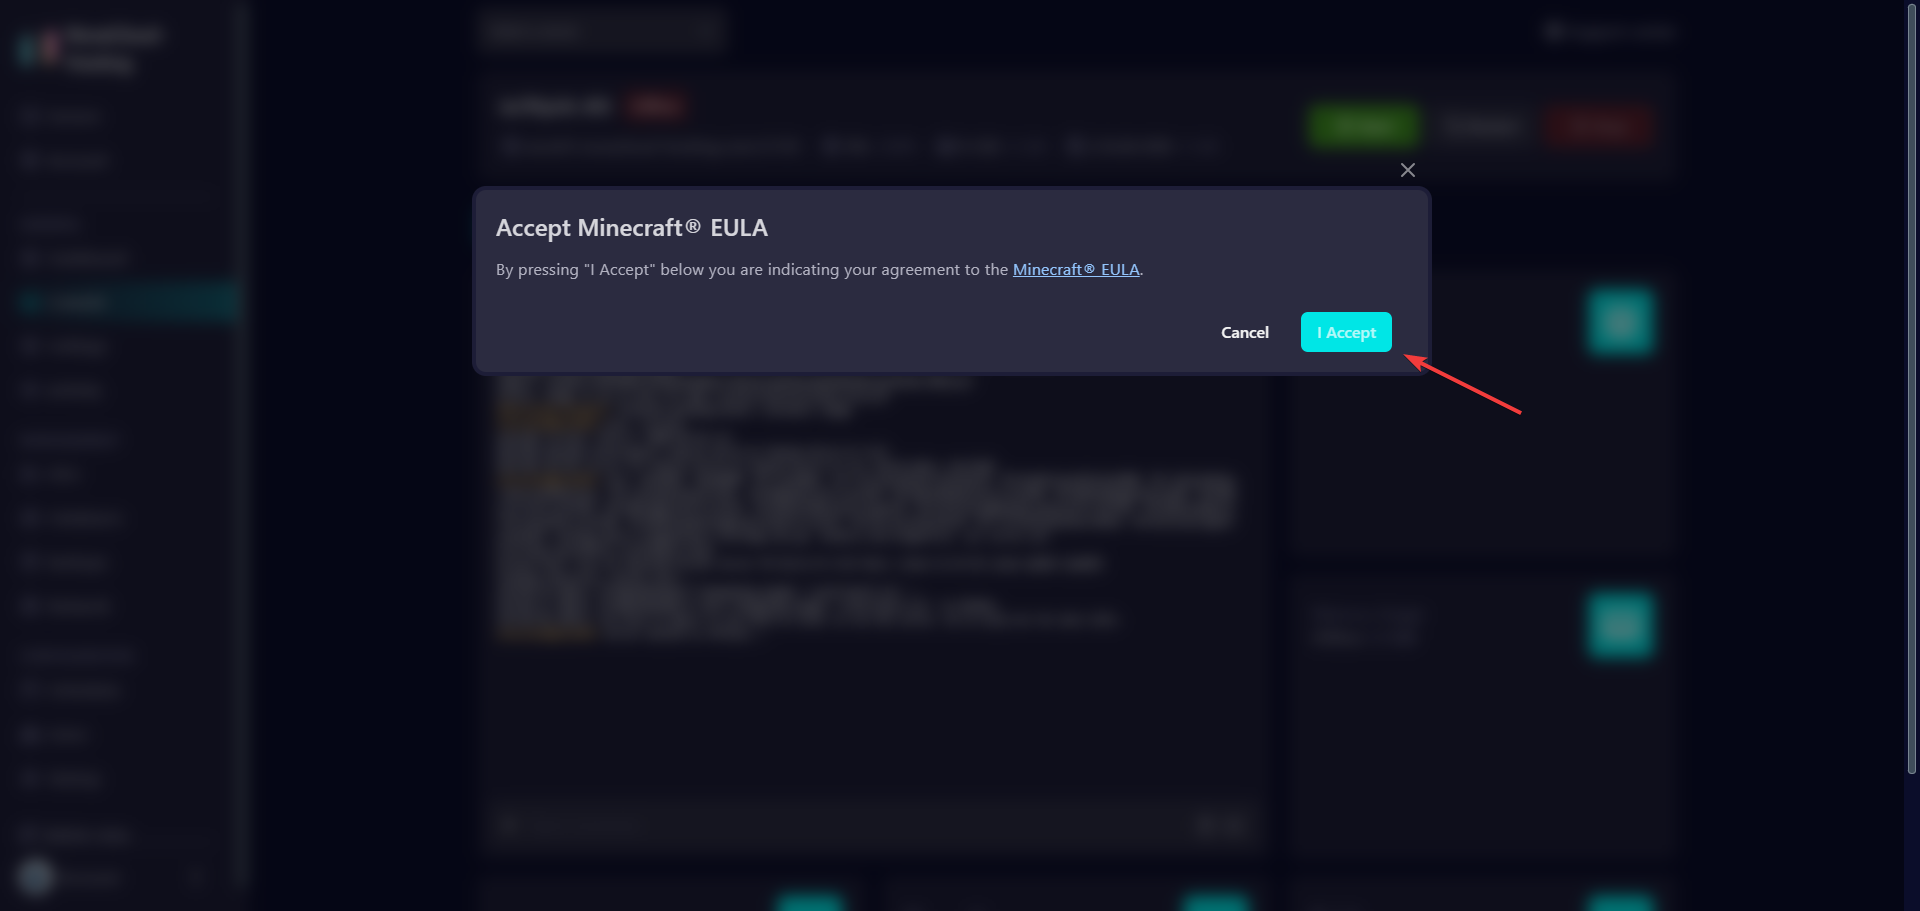
However, on the first start you have to go to the "console" first and only then start the server. After 5–20 seconds a question will appear asking whether you want to accept the EULA. Only after you have accepted the EULA will your server start.
From now on your server will always start without you having to accept the EULA again.
3. Connect to the server
To connect to your Minecraft server, simply click the hostname at the top and the IP will immediately be copied to your clipboard.
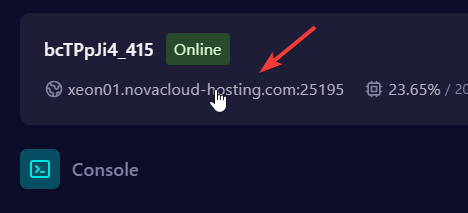

After that you can just open your Minecraft client and paste the IP with Ctrl+V.